UsingThe Lishi 2 in 1 Pick / decoder to pick and decode the prugeot 406 , NE78 Lock The new range of Lishi 2 in 1 picks and decoders in 1 unit I really like. They are neater than the old range, far easier to use with superb feedback, in fact the superior feedback has made picking a whole lot easier. Below is one of the tools from the range, The Lishi NE78, 2 in 1 pick/decoder.

New Lishi 2 in 1 pick/decoder NE78 common on Peugeot 406.

The gauge with the wafer positions running right to left and the height lines to the right make reading and positioning spot on every time.
PICKING THE LOCK
Insert the pick tool into the lock, once inserted, apply very very light tension, as in picture below;
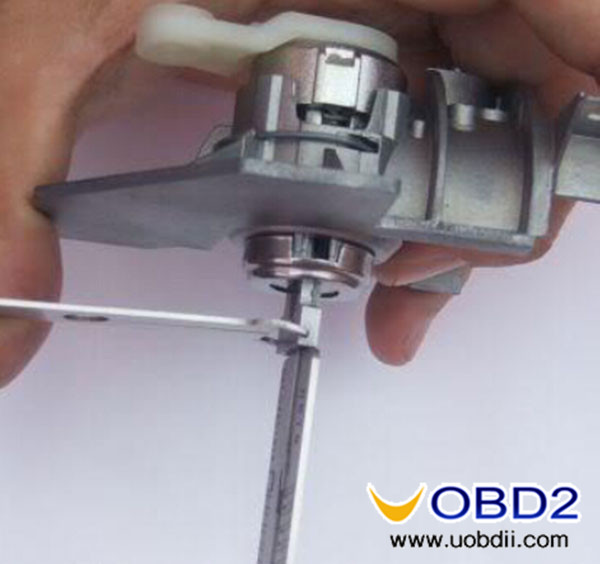
line up the pointer to the 0 position on the grid, as in the picture 1 below, then gently push the wafer manipulator up or down, on the unmarked line above the 0 position, as in picture 2 below.

Picture 1
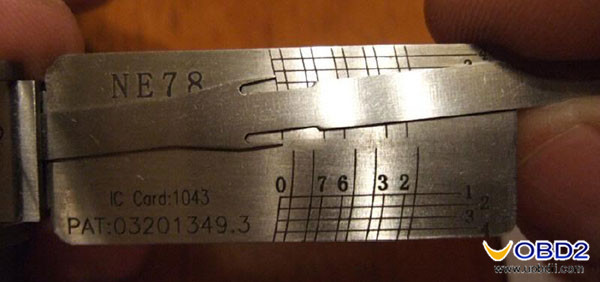
Picture 2
If wafer resistance is felt the pick is correctly inserted, if no wafer resistance is felt at all then the pick is upside down, turn pick over and repeat above test.
Once wafer resistance is felt, you need to reapply your light tension, position the picks pointer on position 0 and gently push the wafer manipulator up or down slowly on the unmarked line opposite the 0, until you feel a little light jump, verify wafer is picked by gently depressing the manipulator down and you will feel it move and spring back, much like a picked lever in a mortice lock, it will feel springy to the touch.
Keep your very light tension on and slide the pointer to position 9 on the gauge as in picture below.

Push the wafer up or down gently on the unmarked line opposite the 9 until springy as with 0 position, pictured below;

repeat the process for each position from 0 down to position 1

picking all 10 wafers, do not get tempted to apply more tension at this point, as if not fully picked the clutch will engage rather than the lock open, as in picture 1, picture 2 shows the lock open.
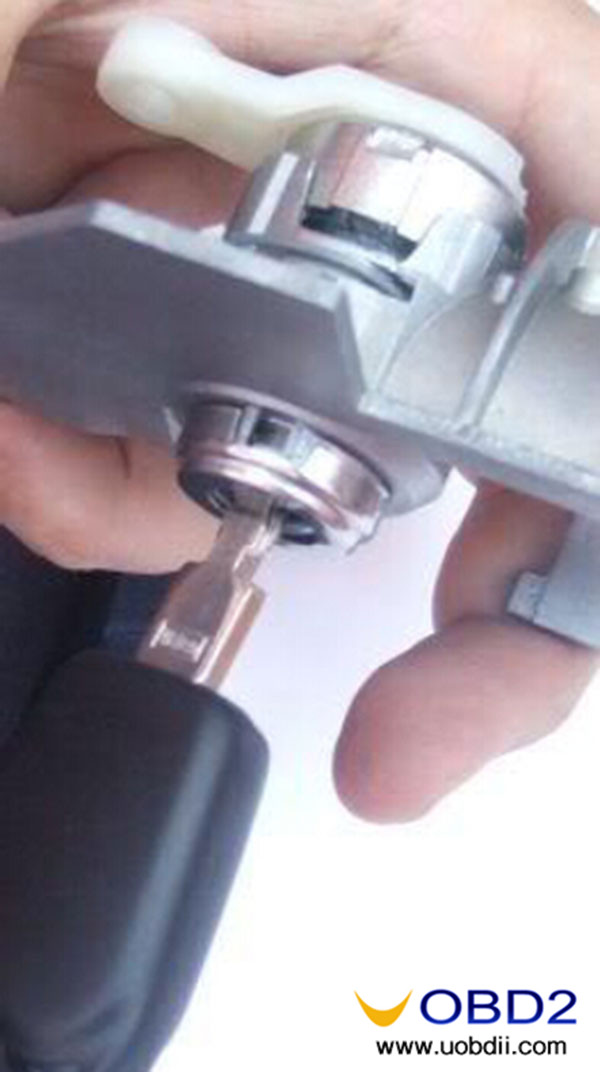

When you believe you have set each wafer, prior to applying opening tension, get into the habit of checking each position to ensure each position is springy, once this is confirmed, apply more tension to the tensioner and open the lock.
With a little practice the increased feel and simplicity of use of these new tools, the picking process takes around 1 minute to complete tops. In fact I had my 15 year old son and 7 year old daughter having never picked a car lock before opening these in 1 to 2 minutes, such is the ease of use compared to the old tool range.
DECODING THE LOCK
Decoding the lock is now far easier than before, same tool, no need to spike the plug to hold it whilst you remove the pick and insert the decoder, and no need to remove the decoder to turn it over to decode side 2.
Once the lock has been picked to the open position, hold the pick with your tension in the open position, then position the pointer on the gauge in the 0 position as in picture below.
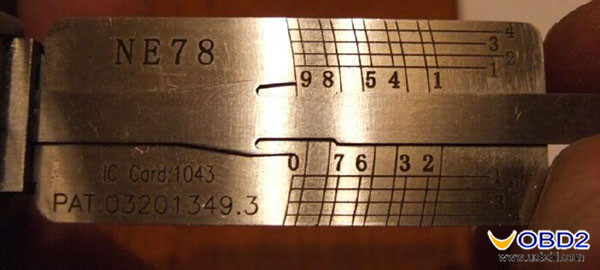
Gently depress the plunger down towards the number ( opposite direction to that picked in ) until it stops without force applied, on the side the number is on, in this case the 0, and read the line it stops on as line/height 1, 2, 3 or 4, and you have the cut for this position. We start by decoding all of the even numbers first, so we start at tip 0 and work to bow 2, 0, 8, 6, 4 and 2 as in pictures below;
0 position Stops line/cut No 2

8 position stops on line/cut No 1

6 position stops on line/cut No 1

4 position stops on line/cut No 3
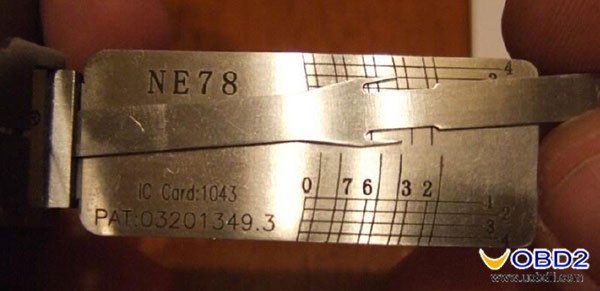
2 position stops on line/cut No 2

So side of the key A is cuts from tip to bow, 2, 1, 1, 3 and 2, checked against the bottom row of the key below;

This bottom row bow to tip, left to right, 2, 3, 1, 1 and 2 at tip, decoded spot on! Now we decode the odd positions 9, 7, 5, 3 and 1 for side B of the key, from tip to bow below;
9 position stops on line/cut No 1

7 position stops on line/cut No 3
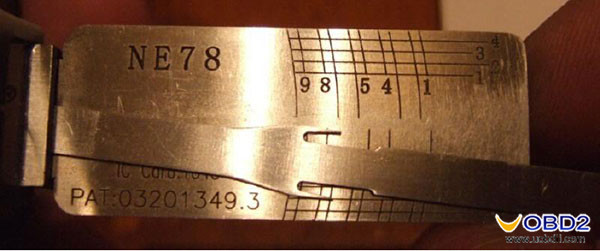
5 position stops on line/cut No 4

3 position stops on line/cut No 3

1 position stops on line/cut No 3

So this reads the key from positions 9, 7, 5, 3 and 1 tip to bow as , 1, 3, 4, 3 and 3, this gives us the cut of side B of the key pictured as top row below;
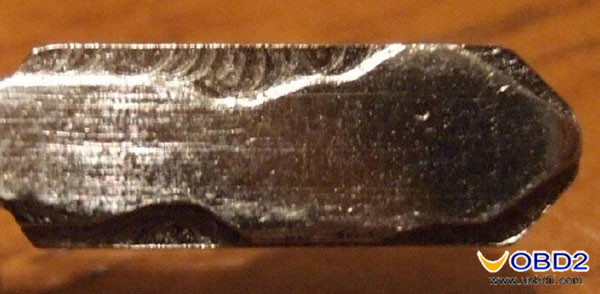
Top row, reads from bow to tip as cuts, 3, 3, 4, 3 and 1 so again decoded spot on. So as you now have the cuts for both sides/axis of key, You can now cut the key and begin programming.
The decode gauge is extremely accurate and very quick and easy to use, with a little practice I have sampled 12 different Peugeot 406 locks, with average times for picking and decoding the lock accurately between 1 and a half minutes to 2 and a half minutes throughout.

No comments:
Post a Comment